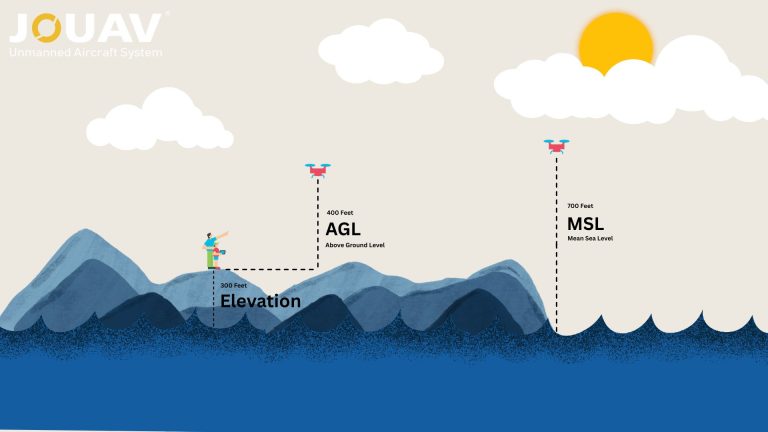
In aviation, precision isn’t just a goal—it’s a necessity. Every altitude reading, flight path, and safety protocol hinges on understanding two critical measurements: Mean Sea Level (MSL) and Above Gr
In an era where 97% of homebuyers begin their property hunt digitally, the battle for attention hinges on visuals that stop scrolls and spark curiosity.
Gone are the days of static ground-level photos—today’s buyers crave immersive, dynamic perspectives that reveal a property’s true potential.
This is where real estate drone photography soars above the rest. Properties featuring aerial imagery don’t just look better—they perform better.
Studies reveal listings with drone-captured photos sell 68% faster, turning window shoppers into serious buyers by showcasing landscapes, layouts, and neighborhood context in ways traditional photography can’t match.
In this guide, we’ll explore the essentials of real estate drone photography, including why it matters for property marketing, practical tips to achieve stunning results, and where to find resources to level up your skills.

Benefits of Real Estate Drone Photography
Below, we explore the transformative advantages of drone photography.
Aerial Perspectives Provide Unmatched Context
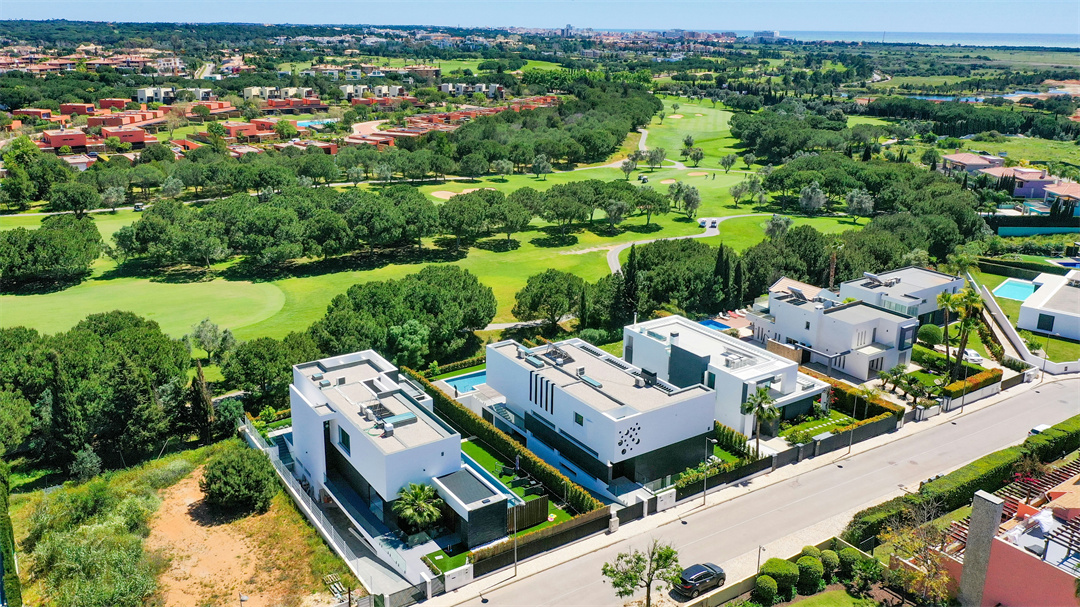
Drone photography captures bird’s-eye views that ground-level shots simply cannot replicate. According to the National Association of Realtors, 57% of buyers expect at least 8–10 aerial shots of residential properties.
These sweeping visuals highlight a property’s full scope, from its architectural footprint to its relationship with surrounding amenities like parks, lakes, or transit hubs.
For example, a rural estate’s proximity to hiking trails or a suburban home’s walkability to schools becomes instantly clear. This aerial context reduces buyer uncertainty, answers critical questions upfront, and builds confidence in the property’s value.
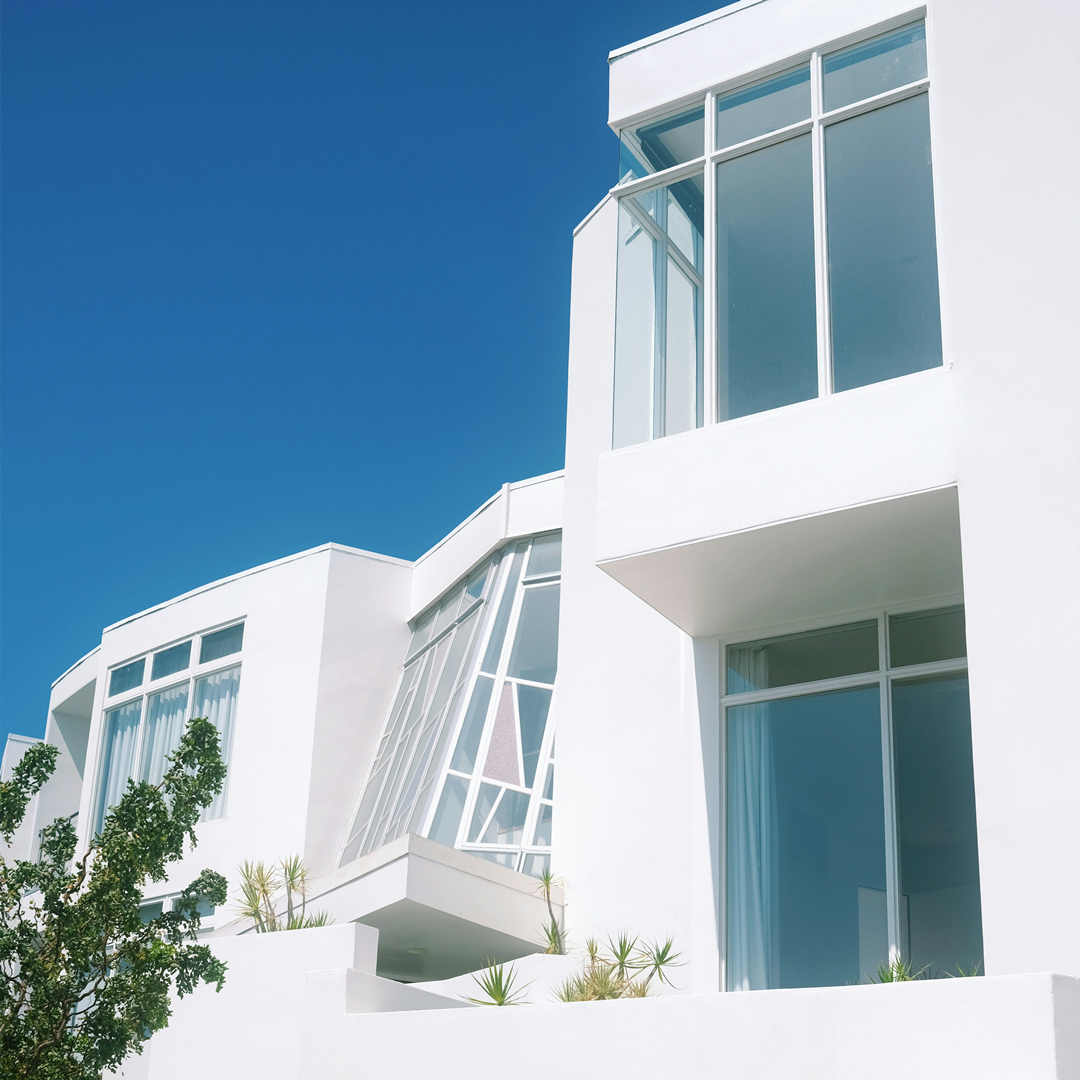
Spotlight Unique Features and Architectural Brilliance
Drones excel at showcasing distinctive amenities—luxury pools, sprawling gardens, or custom outdoor living spaces—that often go underappreciated in traditional photos.
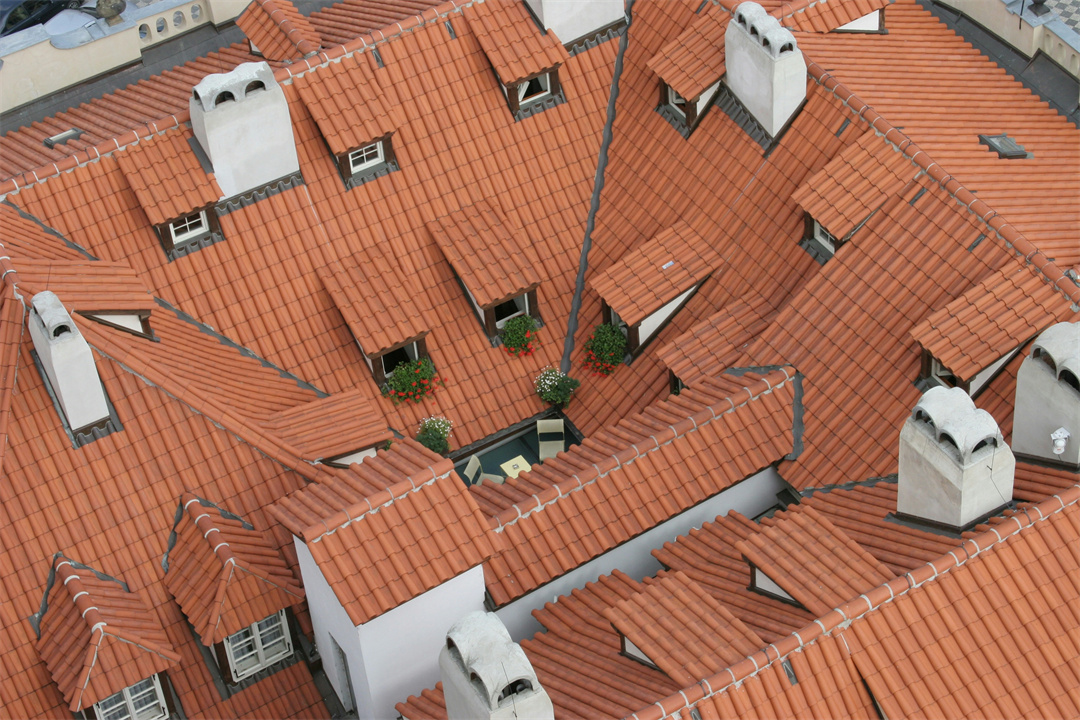
They also bring an architect’s vision to life, particularly for high-end properties. By capturing elevation shots at mid-height angles, drones emphasize symmetry, rooflines, and design flow, ensuring the home is presented as the architect intended.
This attention to detail appeals to discerning buyers who value craftsmanship and originality.
Craft Emotionally Compelling Narratives
Drone photography transforms listings into immersive stories. Aerial footage of a coastal property’s ocean access or a penthouse’s skyline views stirs emotions, helping buyers visualize their future lifestyle.
Paired with virtual tours, these visuals take viewers on a journey, sparking curiosity and fostering emotional connections. This narrative-driven approach turns passive browsing into active engagement, making listings unforgettable.
Establish Professionalism and Meet Seller Expectations
Adopting drone photography signals expertise and forward thinking. A staggering 83% of home sellers prefer agents who use drone photography, as it reflects a commitment to modern, results-driven marketing.
High-quality aerial content, combined with tools like 3D virtual tours, positions agents as leaders in tech-driven marketing. Repurposing drone footage across social media, websites, and digital ads meets modern buyers’ expectations for polished, dynamic content.
Streamline the Buyer Journey with Virtual Access
Drones enhance the user experience by enabling remote, interactive exploration. Buyers can inspect properties from multiple angles—zooming into landscaping details or assessing rooftop conditions—without scheduling in-person visits.
This convenience is invaluable for relocating families or international investors, offering a “try before you buy” experience that builds trust and accelerates decision-making.
Accelerate Sales and Maximize Returns
Properties marketed with drone photography often sell faster and at higher prices. Listings with aerial visuals see buyers 65% more likely to schedule in-person showings, according to industry studies. Aerial shots create a sense of exclusivity, justify premium pricing, and attract motivated buyers.
For agents, this translates to shorter sales cycles and increased commissions. The “wow factor” of drone footage also reduces a listing’s time on market, as buyers quickly grasp its potential.
Stand Out in a Crowded Market
In saturated markets, drone photography provides a critical differentiator. Aerial shots break the monotony of standard listings, capturing attention on platforms like Instagram or Zillow.
By highlighting a property’s unique context and design, agents position themselves as innovators, appealing to sellers who want cutting-edge marketing and buyers craving visually rich, transparent presentations.
Future-Proof Your Marketing Strategy
Drone photography lays the groundwork for emerging technologies, such as augmented reality (AR) and immersive 3D tours.
With over 50% having experienced a virtual tour, embracing this technology is essential to staying competitive in today’s digital-first market.
This forward-looking approach future-proofs listings, aligning with trends like virtual staging and hybrid buyer preferences.
How to Get Started in Real Estate Drone Photography?
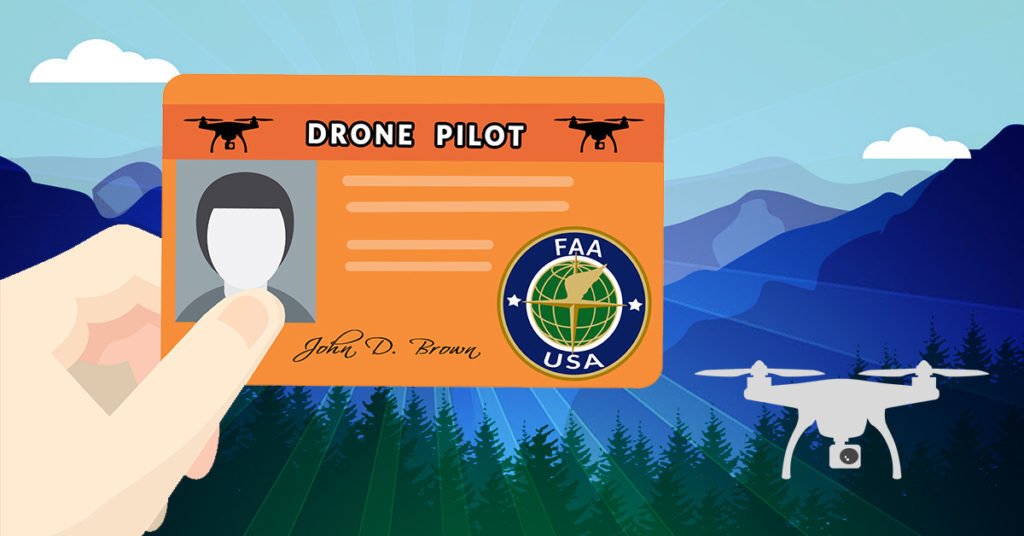
Understand Legal and Regulatory Requirements
In the U.S., FAA Part 107 certification is required for commercial drone pilots, involving a $175 knowledge test on airspace, weather, emergency procedures, and safety. Study resources include the FAA, online courses (e.g., Pilot Institute), and practice exams.
Regulations vary internationally—EU pilots need an A1/A3 Certificate (for drones under 25 kg), while the UK requires a PfCO.
Always check local laws on altitude limits (typically 400 ft/120 m), no-fly zones (e.g., airports, military bases), and privacy rules. Apps like B4UFLY (U.S.) and AirMap (global) help identify restricted airspace.
Invest in the Right Equipment
Earning your drone pilot license is a significant milestone, but the real adventure begins when you transition from theory to hands-on practice.
Your next step is to invest in a photography drone specifically suited for real estate work—prioritize models with features like 4K resolution, a 3-axis gimbal for rock-solid stability, and obstacle avoidance sensors to navigate tight spaces (we’ll cover detailed recommendations in the “How to Pick the Right Real Estate Photography Drone” section).
Master Drone Piloting Skills
Flying a drone requires precision and practice. Begin in open, obstacle-free areas to master manual controls: yaw (rotation), pitch (forward/backward tilt), and roll (sideways movement).
Practice smooth, cinematic movements—slow ascents, descents, and lateral slides—to avoid jarring footage. Gradually experiment with automated modes like Orbit (circling a subject) and Waypoints (pre-programmed flight paths).
Focus on real estate-specific scenarios:
- Wind Management: Learn to stabilize the drone in breezy conditions (avoid winds over 15–20 mph).
- Low-Altitude Flying: Navigate around trees, power lines, and rooftops safely.
- Battery Management: Always land with 20–30% battery remaining to avoid mid-flight crashes.
Develop a Shot List for Real Estate
Real estate agents demand visuals that highlight a property’s best features. Structure your shoots around these key shots:
- Exterior Overview: A high-altitude, wide-angle shot showcasing the property, yard, and neighborhood context.
- Front Approach: A slow, cinematic glide up the driveway to mimic a buyer’s arrival.
- Orbit Shot: Circling the property to emphasize architectural details and landscaping.
- Top-Down: A vertical shot highlighting pools, patios, or roof condition.
- Golden Hour Capture: Shoot during sunrise or sunset for warm, dramatic lighting.
For luxury properties, add creative angles like sweeping passes over gardens or interior fly-throughs (if permitted and safe). Always scout locations beforehand to identify obstacles and optimal flight paths.
How to Choose the Right Drone for Real Estate Photography?
Selecting the ideal drone for real estate photography requires balancing technical specifications, regulatory compliance, budget, and practical needs.
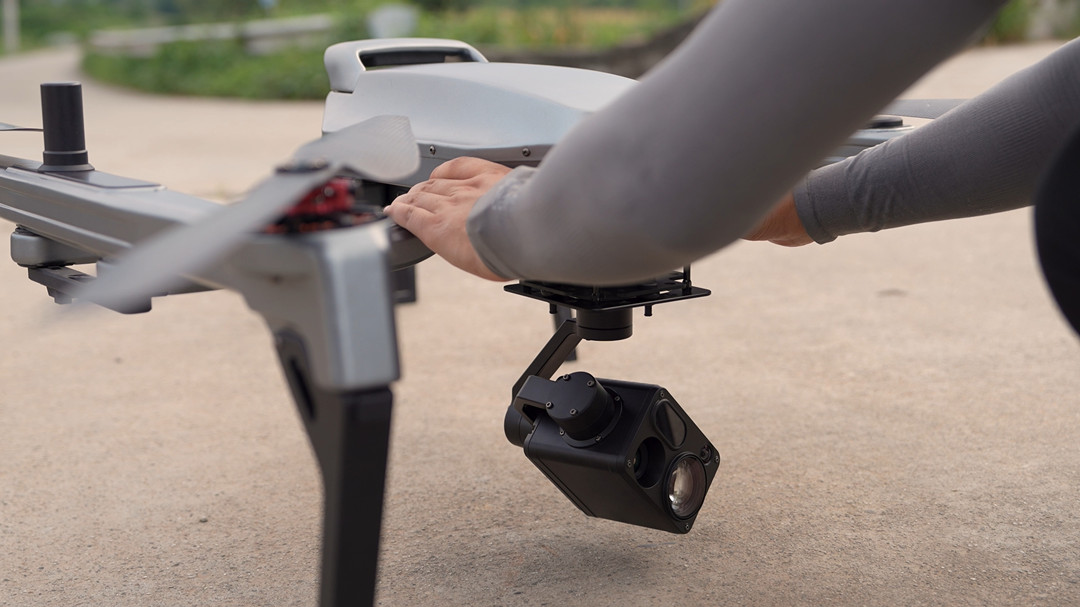
Camera Quality
The camera is the most critical component of a real estate drone, as high-quality visuals can make or break a property listing. Look for drones with:
- Resolution: Prioritize drones with 4K video and 20+ MP still photos to ensure crisp, zoomable images.
- Sensor Size: Larger sensors (e.g., 1-inch CMOS) perform better in low light and offer dynamic range.
- Adjustable Aperture: Allows control over depth of field.
- Gimbal Stabilization: A 3-axis gimbal is non-negotiable for smooth footage in windy conditions.
Flight Time and Battery Life
A drone’s battery life directly affects its efficiency on a shoot. Look for models offering:
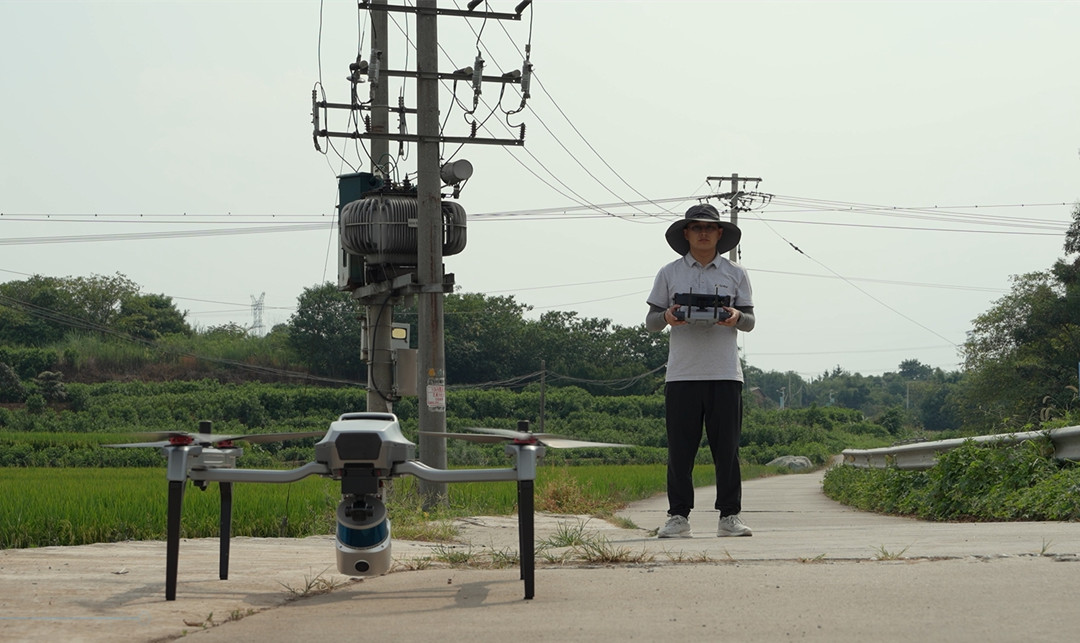
- Battery Life: Aim for 25+ minutes per battery (e.g., JOUAV PH-007 offers 85 minutes). Always carry spares.
- Range: A minimum of 4-6 miles (6-10 km) ensures flexibility for large properties.
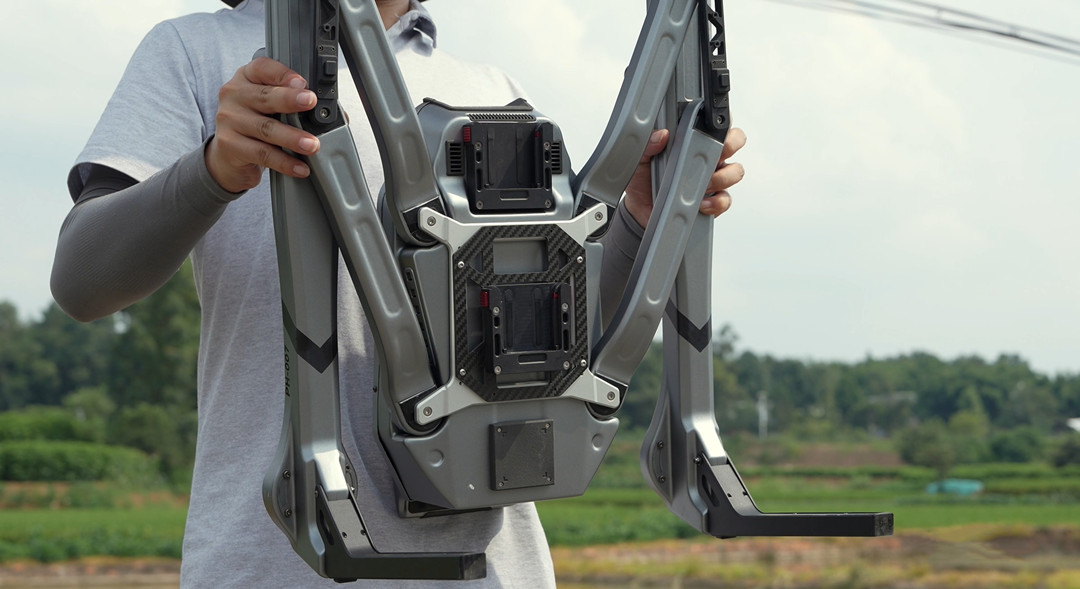
Portability and Durability
For real estate photographers on the go, portability and durability matter.
- Foldable Design: Compact drones fit in a backpack.
- Weather Resistance: Drones with IP ratings handle light rain or dust.
- Wind Resistance: Drones rated for Wind Speed Level 5 (19–24 mph) handle gusts without compromising stability.
Obstacle Avoidance and Safety Features
- Omnidirectional Sensors: Detect obstacles in all directions.
- Return-to-Home (RTH): Automatically navigates back to the launch point if signal loss or low battery occurs.
- GPS/GLONASS: Lock onto satellites for stable hovering and accurate return-to-home functions.
- Precision Landing: Ensures the drone lands exactly where it took off.
Budget Considerations
The cost of a real estate drone varies widely depending on its capabilities.
- Professional Tier ($10,000+): Top-tier drones with 4K–8K video, interchangeable lenses, extended flight times, pro stabilization, multi-sensor systems, and advanced obstacle avoidance—ideal for commercial real estate, high-budget marketing, and film production.
- Mid-Range ($1,000–$2,500): High-quality 4K–6K cameras, 30+ min flight time, advanced GPS, automated flight modes, and strong obstacle avoidance—perfect for real estate photographers needing pro-level results without film-grade complexity.
- Budget-Friendly (<$1,000): Entry-level drones ($50-$200) suit hobbyists with basic cameras and short flights, while mid-tier options ($200-$1,000) offer 1080p-4K resolution, 15-30 min flight time, GPS, and some obstacle avoidance—a solid choice for beginners.
Best Drones for Real Estate Photo & Video
Real Estate Drone Photography Tips for Stunning Shots
Capturing breathtaking aerial shots for real estate listings requires technical skill, creativity, and attention to detail. Below are actionable tips to elevate your drone photography:
1. Pre-Flight Strategy
Begin with meticulous planning.
Use satellite maps (e.g., Google Earth) to study the property’s layout, noting obstacles like power lines or tall trees.
Visit the site in person to identify unique features (pools, patios, scenic views) and assess lighting conditions.
Charge all batteries, pack spares, and ensure your drone’s firmware and SD card are updated.
Timing is critical: schedule shoots during golden hour (sunrise/sunset) for warm, soft light, or opt for overcast days to avoid harsh shadows.
2. Optimize Camera Settings
Shoot in RAW to retain maximum editing flexibility.
Keep ISO between 100–400 to minimize noise, and set shutter speed to double your frame rate (e.g., 1/50s for 24fps video).
Use a narrow aperture (f/5.6–f/8) for sharpness across the frame.
Neutral Density (ND) filters are indispensable—ND16 for bright sunlight, ND8 for cloudy skies—to balance exposure without overloading the sensor.
3. Compose with Purpose
Apply the Rule of Thirds to position key elements (pools, driveways) along gridlines for balanced framing.
Use natural lines (paths, fences, rivers) to guide the viewer’s eye toward the property.
Create depth by layering foreground (foliage), midground (the house), and background (mountains or skies).
For variety, mix oblique angles (45° shots showing the facade and surroundings) with nadir views (straight down for lot layout) and low-altitude passes (10–20 feet above the roof) to highlight architectural details.
4. Execute Controlled Flights
Smooth footage hinges on deliberate movements. Activate Cinematic Mode (if the drone has) to reduce abrupt maneuvers. Leverage automated modes:
- Orbit for 360° reveals.
- Waypoints for repeatable flight paths.
- Follow Me to track moving subjects (e.g., a car entering the driveway).
Avoid windy conditions (>20 mph); opt for stabilized drones like the JOUAV PH-007 if breezy.
5. Adapt to Environmental Challenges
Turn weather setbacks into opportunities. Fog adds mystery to landscapes—use it to frame hills or lakes. Combat glare from windows or pools with polarizing filters or by adjusting your angle.
In post-processing, blend bracketed exposures (HDR) to salvage shots with tricky lighting.
6. Refine in Post-Production
Use Lightroom or Photoshop to correct lens distortion, enhance colors, and remove distractions (e.g., debris).
For video, DaVinci Resolve offers advanced color grading—emphasize golden tones or deepen skies.
Tools like Luminar Neo can subtly enhance bland skies, but prioritize realism to maintain credibility.
Stitch images into 2D maps or 3D tours with DroneDeploy for immersive listings.
7. Highlight the Property’s Narrative
Focus on features that tell a story:
- Lifestyle Shots: Low-angle pool reflections or a fire pit in a landscaped yard.
- Context: Frame the home against mountains, beaches, or seasonal foliage.
- Scale: Use wide flyovers to emphasize acreage or proximity to amenities.
Read More
So, you’re wondering if you can fly your drone in the rain. The answer is generally a resounding NO. Most drones—especially consumer models like the DJI Mini or Air series—aren’t waterproof.
Rai
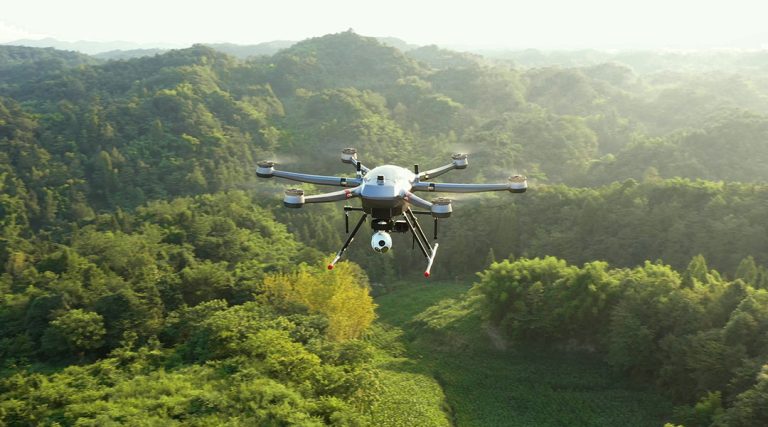
With their six-propeller design, hexacopters stand out for their stability, payload capacity, and flight redundancy. This makes them a powerful choice for aerial photography, precision agriculture, in

JOUAV Product News and Use Cases
Fixed-Wing VTOL Drones Insights and Industry Trends
Invitations to online demo events